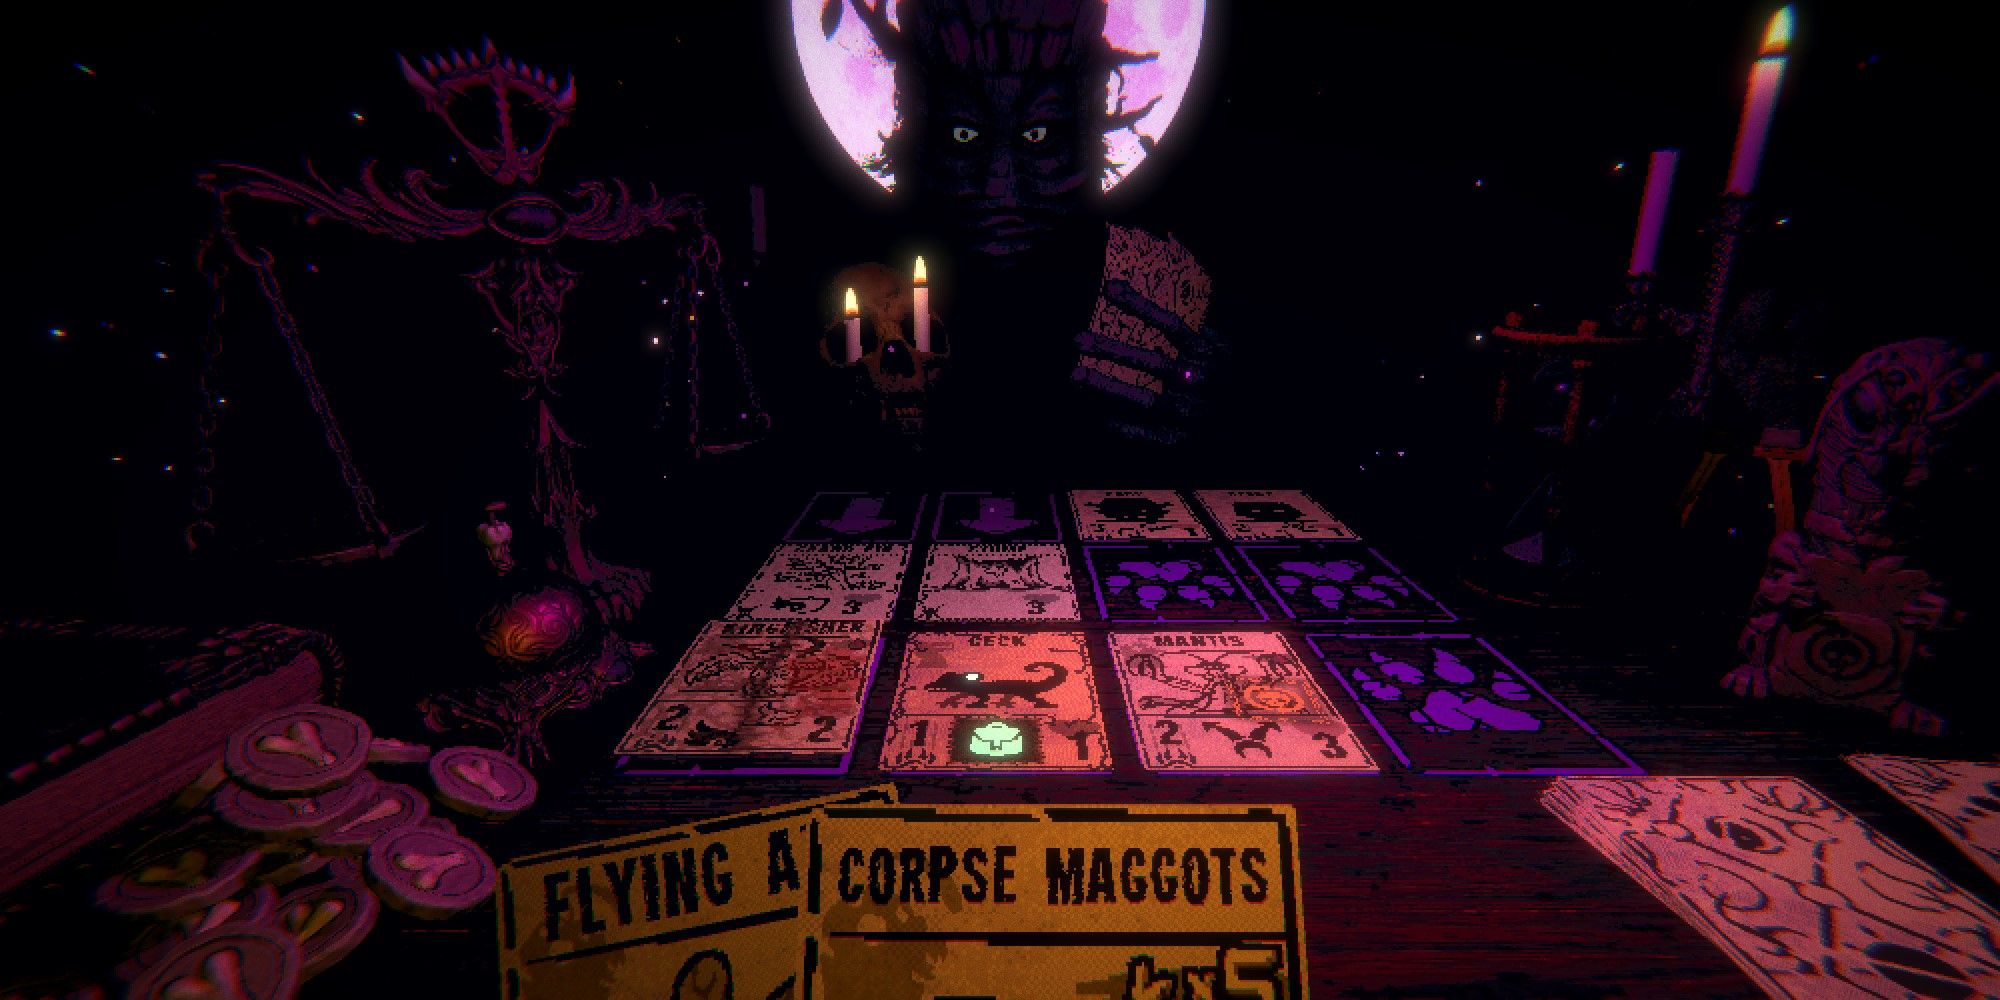
Inscryption is a horror game that uses cards as a method of storytelling to convey the dark past of its grim world. Kaycee’s Mod is a free update from the developers that provides a replayable roguelike version of the first chapter of Inscryption. Beneath the horror and seeded truth behind the main game is an innovative card game with engaging replayability, challenging puzzles, and a difficulty level that makes you earn your power spike.
Related
10 Best Boss Fight Themes, Ranked
Every great video game showdown has to have a great soundtrack. Here are some of the best Boss fight themes the industry has given us.
Inscryption operates like a puzzle game and a card game. The opponent has to follow the same rules you do, with an extra row of telegraphed plays in order to plan your turns. The ebb and flow of the game is based on “Justice Scales,” where there are ten total hit points shared between you and your opponent.
The only way to win a match is to deal five points of damage from the center of the scale, meaning the more damage you take the more you need to deal to claim victory. This guide will cover the four area maps and bosses in Kaycee’s Mod while providing a few strategies players can use to tip the scales in their favor.
The core of Kaycee’s Mod is unlocking cards through runs and earning new starter decks alongside difficulty modifiers in order to progress. It is highly recommended you play the base game first to understand the card variety, rules nuance, and reward system, in order to properly prepare and strategize.
Map navigation is performed as a game piece, with the player choosing branching paths that have a variety of encounters and deck customizations, eventually leading to the area boss. In Kaycee’s Mod, the boss order is always random, so it is important to inspect the map as you go along to pivot as needed. The map features many icons and they operate as follows:
|
Question Card |
Choose a card out of three random choices |
|
Animal Card |
Choose a random card based on its animal type |
|
Blood Card |
Choose a random card based on its cost |
|
Bonfire |
Choose a card from your deck to upgrade its strength or defense |
|
Sacrifice Stone |
Sacrifice a card to apply its sigils to another card |
|
Backpack |
Choose three items, if you already have three, add a Rat Pack to your deck |
|
Beartrap |
The Trapper will trade teeth earned from battles for Pelts |
|
Trading Post |
The Trader will trade Pelts for cards based on Pelt Quality |
|
Wood Carving |
Choose a totem piece out of three random choices |
|
Cave |
Choose one of three trials for a powerful card |
|
Mushroom |
Combine two identical cards to merge their stats and sigils |
|
X Card |
Remove a card from your deck for an increase in starting bones |
|
Painting Canvas |
Copy a card with a chance to be stronger, weaker, or the same |
|
Pickaxe |
Choose one of three boulders for a chance at a Gold Pelt or a random card |
|
Skull |
A standard combat scenario |
|
Intricate Skull |
A totem combat scenario with increased difficulty |
Building Your Run

Upon starting Kaycee’s Mod, you will be given the option to choose your starter deck and apply challenge points in order to unlock further decks and cards, in a similar fashion to Balatro (which offers a huge range of cards too). These starter decks give you the ability to control your starting pool of cards, lending different elements to your deck’s synergies. There are eight total starter decks:
- Vanilla Deck: Stoat, Bullfrog, and Wolf
- High Cost Deck: Black Goat, Moose Buck, and Mole
- Ant Deck: Ant Queen, Flying Ant, and Skunk
- Mantis God Deck: Mantis God, Ring Worm, and Ring Worm
- Waterborne Deck: Kingfisher, Kingfisher, and Great Kraken
- Bone Deck: Raccoon, Dire Wolf Pup, and Coyote
- Zero Cost Deck: Rabbit, Tadpole, and Geck
- Curious Egg Deck: Curious Egg, Curious Egg, and Curious Egg
The challenge points are difficulty modifiers you can apply to your game in order to earn new decks. Similar to the heat system from Hades, these are all assigned point values associated with their difficulties and a minimum amount is required in order to progress.
The minimum point values steadily increase as you win, scaling the difficulty with your increased strengths. These challenges vary from starting with fewer items to having extra damage for each combat.
As stated above, the area and boss order is randomized and unpredictable, so this guide will follow the order you encounter the bosses in the base game. Some of these bosses change the cards they use in order to keep up with your deck, but the strategies are always the same.
The Prospector

The Prospector fight is the simplest of the boss fights in Kaycee’s Mod mechanically, but that doesn’t mean it’s the easiest.
It always starts the same, with a Pack Mule and a Coyote or Wolf right next to it. The Pack Mule will move to the adjacent space at the end of each turn as long as there is room to move. Killing the Pack Mule before the second phase of the fight is key to beating the Prospector, so cards with deathtouch make quick work of the first phase.
The Pack Mule will give you extra cards which prepare you for phase two.
The Prospector will wipe your side out and replace any cards with Boulders blocking your available space. Saving the strongest card in your deck for this part is crucial to survival.
Eventually, the enemies will destroy the Boulders, giving you more spaces to attack again, but the extra cards will edge you into victory.
The Angler

The Angler can be a frustrating boss fight if you don’t know what to expect.
His Kingfisher cards are near impossible to attack, leaving a constant damage source and an opening attack for your turn. Additionally, he will hover his hook over the most recent card you play and steal whatever he is over at the end of the turn.
This is something you can use to your advantage by playing squirrel cards last, giving him a useless card and removing whatever card he had in its place.
The secret to surviving both phases is by using flying cards to guarantee fast damage in the first phase and by skipping the second entirely. Once you start the second, the Angler will place Bait Buckets in front of all your cards.
Attacking them will summon a Great White card, quickly becoming extremely dangerous.
Flying cards will attack over the Bait Buckets, making the final phase trivial.
The Trapper & Trader

The Trapper fight is tricky no matter when you reach it.
The board will be covered with Strange Frog cards and one Leaping Trap card. Once the Strange Frogs are destroyed, they become more Leaping Traps, which kill the opposing card once destroyed in exchange for Wolf Pelts. This is the key to beating the fight.
You need to slowly damage the Trapper and collect Pelts while fortifying your side for the next phase. This is the hardest phase of the fight because you need to sacrifice creatures for Pelts, but pulling this off makes the second phase far easier.

Once the Trapper is defeated, the mask will turn to the Trader’s face, and they will offer you a variety of cards to trade for Pelts. All the remaining cards will stay and fight for him, meaning if you take all four cards in the first row, then he will be completely defenseless for one turn.
Using the cards traded and your remaining cards makes dealing five damage very achievable.
Pelts in your deck prior to the boss fight will still be usable as a trade in the boss fight. Pelts spent or gained in the fight will not carry over into the next area.
Final Boss Leshy

Unlike the other three bosses, Leshy will always be the last fight of the run, and he has three phases instead of two.
In the first, the masks will cycle for each of the previous bosses and use a mechanic from their fights. Leshy will only use rare cards in this phase and starts with a Mole Man. The masks always go in the same order and their mechanics are as follows:
- The Prospector: He will kill all your cards and replace them with Gold Nuggets.
- The Angler: He will hook your most recent card to his side.
- The Trader: He will give you a Pelt and offers two cards. He will keep what you don’t.
The tactics used in the previous fights will work the same against these mechanics, but timing when you play your stronger cards is essential. If it is a card you need in order to win, then protecting it from the hooks and board wipes should be your priority unless you can win quickly.
Eventually, you will get to the second phase, where Leshy will use cards based on the players who have perished before. Additionally, he will place Stumps in front of ground-based cards and Snowy Firs to block flying ones.
As long as you leave the first phase with momentum, this phase shouldn’t be too difficult.
Cards with bifurcated strike will make this phase easier because they can use the blockades as cover for free attacks.

The final phase begins when Leshy takes a photo of the moon behind him and plays the Moon card. It will take all the rows on his side and is basically an endurance run. It can block all types of attacks and has 40 health.
Each turn the Moon will attack each of your cards for one damage and slowly take your cards out. By this point, you will likely have strong attacking cards, and it is simply a battle of the clock.
Cards with submerged survive well in this phase, but be wary because there is no way to deal damage back until the Moon is destroyed. You only get five points of damage before you lose.
Once the Moon is gone, Leshy will be staggered and impressed, allowing free attacks until you win. With victory in hand, you will unlock a new starting deck, new negative modifiers, and some new cards to look forward to on your next run through this dark roguelike adventure.
This fight is made to be difficult even with the best decks, and adding negative modifiers will only make it tougher.