Dragon’s Dogma 2 will have players setting off on plenty of side adventures, mostly in hopes of getting their hands on some of the best early-game weapons and armor to face the harder challenges that lie ahead. However, the real story meat of DD2 lies within the series of main quests.
Dragon’s Dogma 2: Best Items To Duplicate At The Forger
Duplicating items at the forger is a cool mechanic in Dragon’s Dogma 2. This guide breaks down the best (and worst) items to duplicate in DD2.
One such main quest will be “Flickering Shadows.” This will be a quest that has you traveling to distant parts of the map to interact with specific NPCs, but it also has a specific item that you will be required to get your hands on.
How To Get Blue Crystals

This quest will come very late into the game once you have access to The Rockmouse Burrow location. This is an area you will come to just by following the main questline of the game. While on your way through the front entrance into Rockmouse Burrow, you will be greeted with a cutscene.
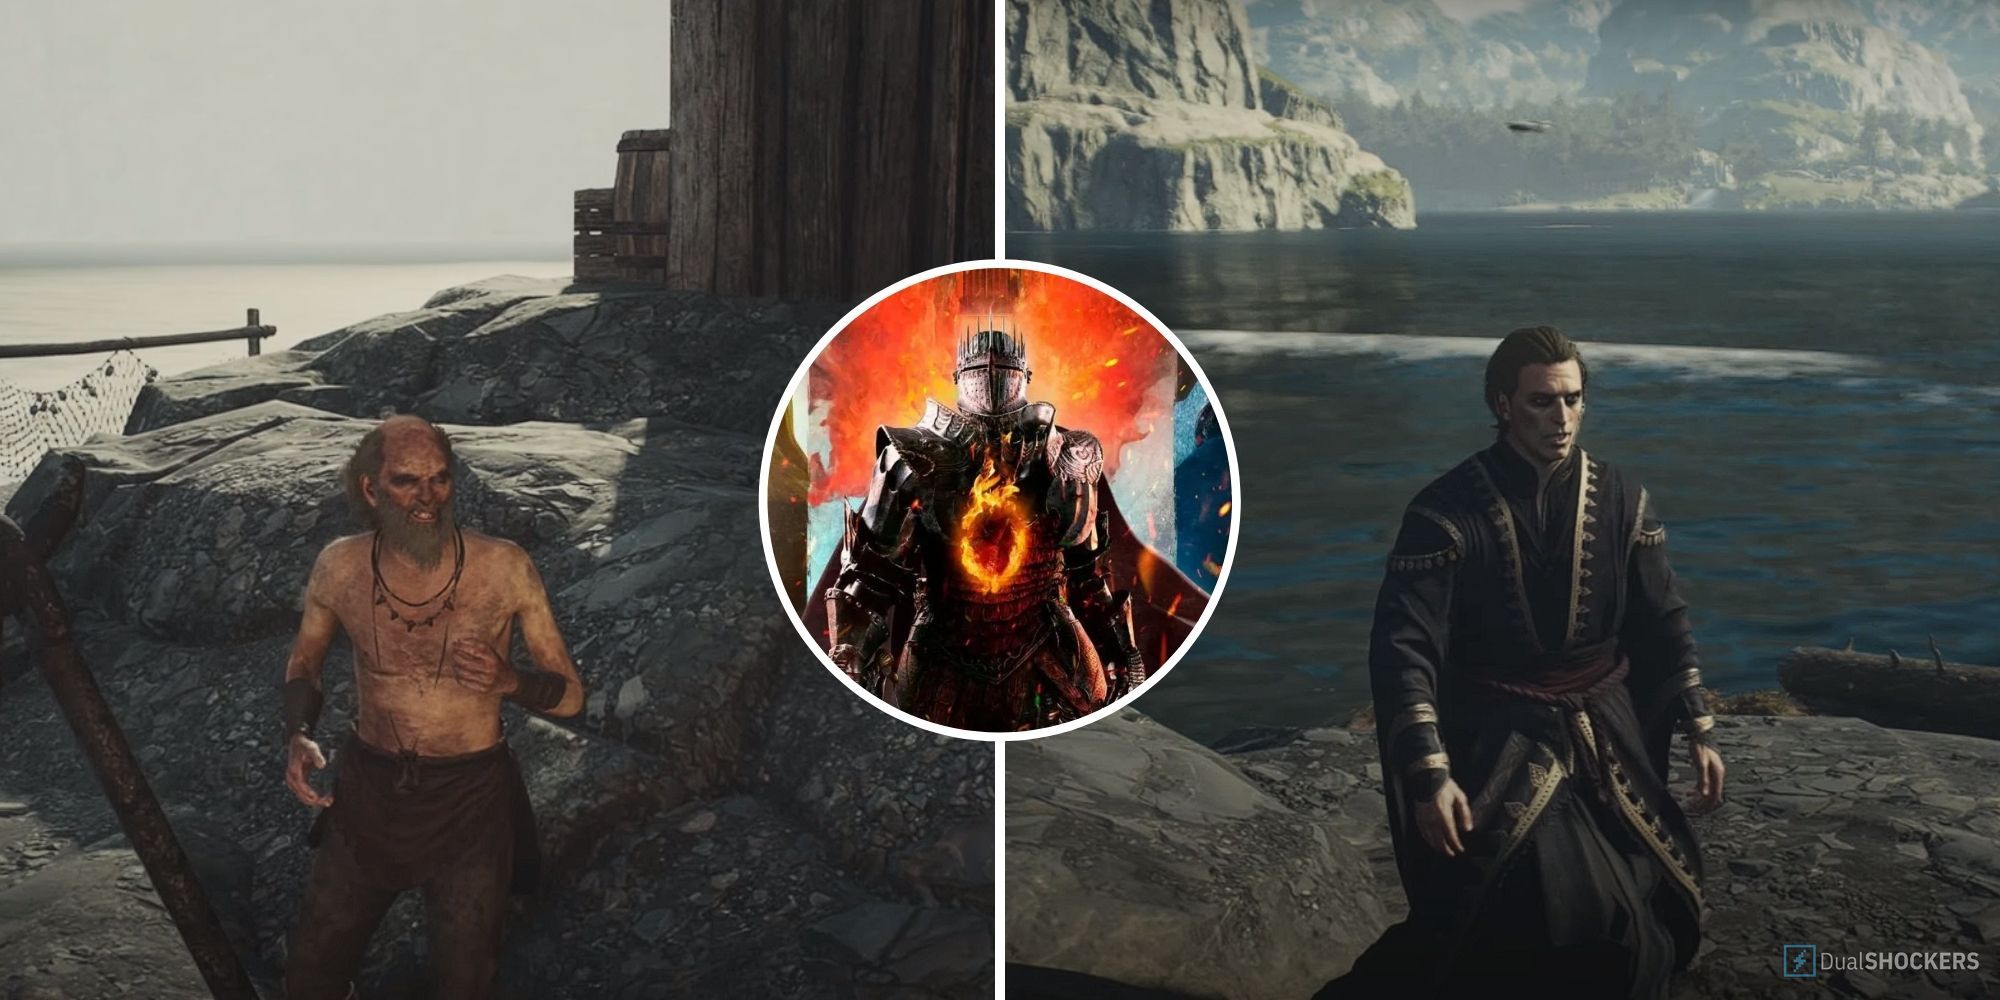
You will now see a large yellow marker on your map at Olta’Battahl Coastline. This will be your next destination. Within this circle will be various NPCs on the beach, you will need to speak to the one known as Ambrosius. After speaking with him, you will need to get a Small Blue Crystal Shard — which just so happens to be right on the very same beach.
Slowly turn the camera right and you will see a wreckage on the shore, you can get a Small Blue Crystal Shard to the right of this wreckage, and another one to the left of it. A fight might break out with some Harpies while you are collecting these crystals, but defeating them is optional. You can either stand your ground and fight them to help rank up your Vocation, or you can flee back the way you came until they stop pursuing you. Whichever option you decide on, go speak with Ambrosius afterward.
2:40

Dragon’s Dogma 2: Checkpoint Rest Town City Guide
Checkpoint Rest Town is one of the first towns players can explore in Dragon’s Dogma 2; here’s everything to do there.
Seek “He Who Was Dragon-Forged” In Harve Village

Open your map and follow the road north to the yellow circle on your map. You will find yourself with a fork in the road — take the route going left. Go into the cave ahead and “Bay Wayside Shrine” will appear. Inside this cave, make your way deeper in to find an NPC named The Dragonforged. Within his dialog options, you will need to select “Tell me of the godsway” in order to progress your quest objectives.
Open your map and you will see another yellow marker, head over to this one. Once you approach the area, you will see “Reverent Shrine” appear on your screen. Make your way into the shrine and up the stairs. Here you will find an ephemeral NPC named Luz. Expend all of her dialog options and you will now have a quest marker at Harve Village. You will have already been here for the Trouble on the Cape and Home Is Where the Hearth Is quests.
Make your way south and walk along the coastline near Stormwind Cave. Here you will find the Rivage Elder NPC. Approach them and some dialog will be triggered. Afterward, a cutscene will play out. Once you regain control of your character, the quest will be marked as completed.
There is a chance that the Rivage Elder will not want to talk to you and you are confused as to what to do next. Rest at the nearby bench until a day has passed by to progress the in game time. Speak with them again and this should resolve the issue.
There are alot of greats tips and tricks for you to know during the game, but there are also some tips and tricks specifically for Pawns that you may be interested in too.

Dragon’s Dogma 2: Steeled Resolve, Blazing Forge Walkthrough
Steeled Resolve, Blazing Forge has you trekking across Bakbattahl to Agamen Volcanic Island in Dragon’s Dogma 2.